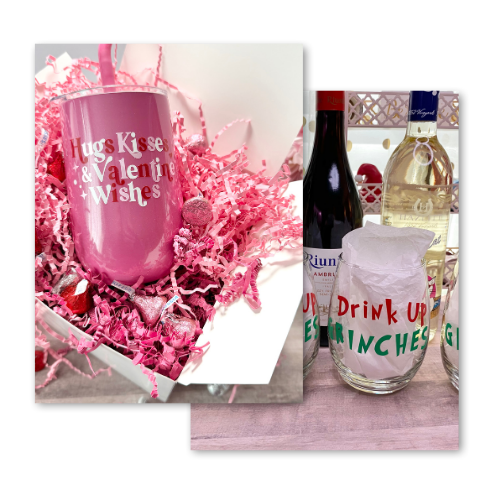
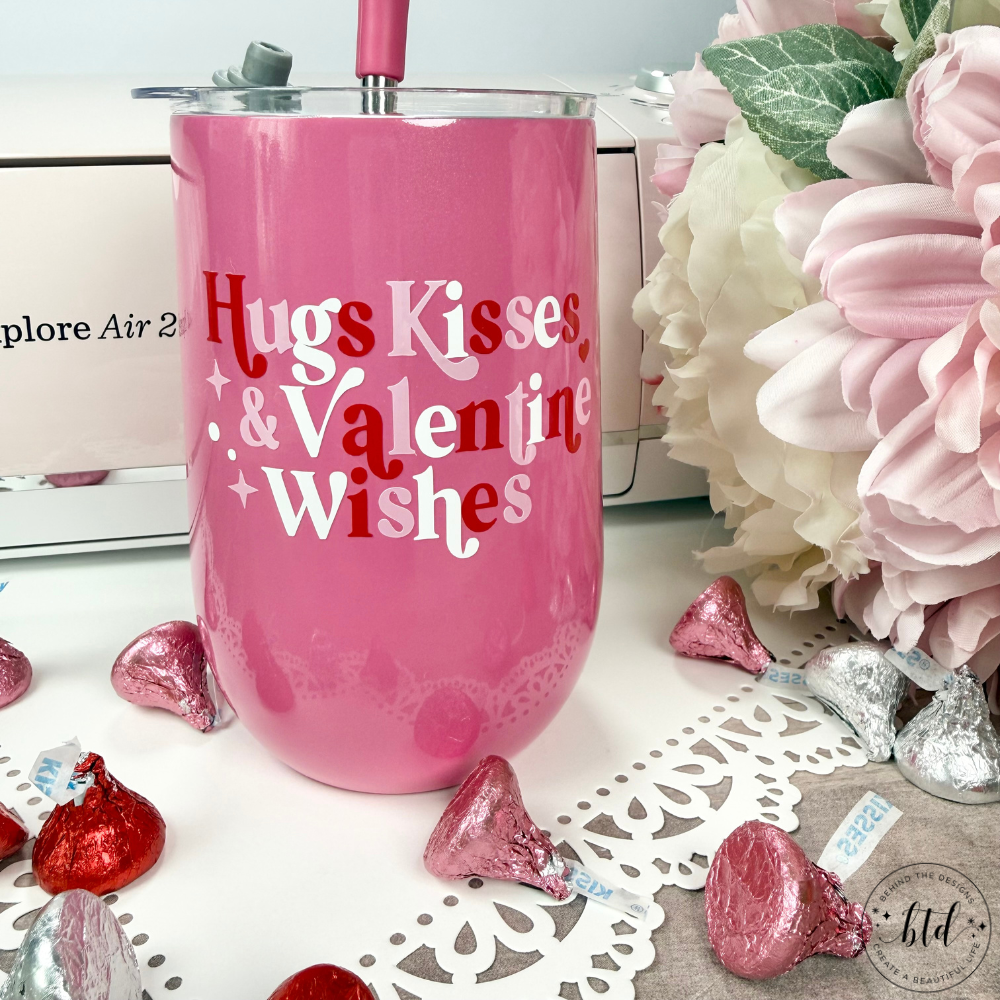
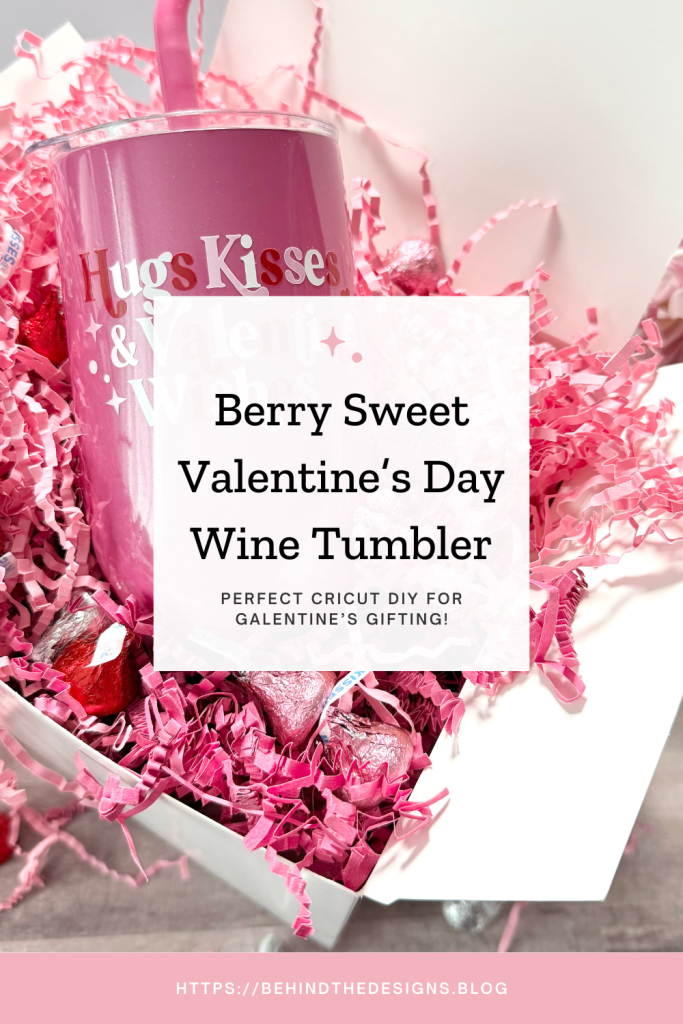
Take your wine drinkware from blah to beautiful with this easy DIY Cricut Project! You can even get a little more creative by using more than one Cricut vinyl color. This Berry Sweet DIY Valentine’s Day Wine Tumber is also a great Galentine’s Day gift!

When I snagged this amazing Marshalls find I didn’t have a project in mind for it…I just loved the color of the tumbler. But isn’t that how most DIY projects come to be> No plan, no ideas…it just happens one day that the project speaks to you. That’s kinda how this project came to be.
I was contently working on a completely different Cricut project. Then I came across this Cricut Design Space image and immediately thought about this tumbler! The rest is history.
don’t miss out!
Get More Valentine’s Day Craft Ideas, Freebies and Special Offers Straight To Your inbox!
I love creating vinyl projects for drinkware. They are so easy to complete and there’s such a variety of cups, mugs and glasses out there. I created wine glasses for my friends’ with the saying “drink up grinches” that you can check out in Cricut Christmas Gift Idea for The Wine Lover. Wine glasses also make great friends’s gifts and perfect for Galentine’s gift giving too!
For this DIY, I’ll be using a beautiful berry pink stainless steel tumbler I found at Marshalls. I can’t say for sure if they have this color anymore, but if they do now is a great time to go looking. But I’ve also found this style tumbler in other colors throughout the year.
Supplies
- Double Wall Stainless Steel Tumbler 14 oz. (Marshalls #113453694)
- Cricut Design Space (#M505A5FAD)
- Cricut Permanent Vinyl, Tomato Red, Light Pink and White
- Cricut Explore – Cricut Joy – Cricut Joy Xtra
- Cricut Cutting Mat
- Cricut Transfer Tape
Be sure to check out my Amazon Storefront for some or all of the supplies used in this project and more.
Berry Sweet Valentine’s Day Wine Tumbler
I’ve gotta say this ain’t your mothers wine glass! It’s not a petite, feminine crystal clear wine glass with a long stem. This is a take-it-wherever-you-go kind of wine glass. It can hold both hot and cold drinks plus it has a straw. Got a pool that you want to sit by and sip your wine? This is the perfect wine tumbler for that!
Step 1: wash your wine tumbler so that the surface is completely clean. You can also wipe it down with alcohol. Next get your vinyl onto the cutting mat, open Cricut Design Space, search for the project and add the image to a new project. Remember to size the image to the tumbler you are using.
Creative Project Tips Before Cutting Your Vinyl:
Step 2: following the prompts on your screen in Design Space, load your cutting mat into the machine and start cutting. Once the designs are cut you can then start weeding your project. This is where you are removing the ‘negative’ vinyl…the parts that are not going on the tumbler; so that you’re left with only your design.
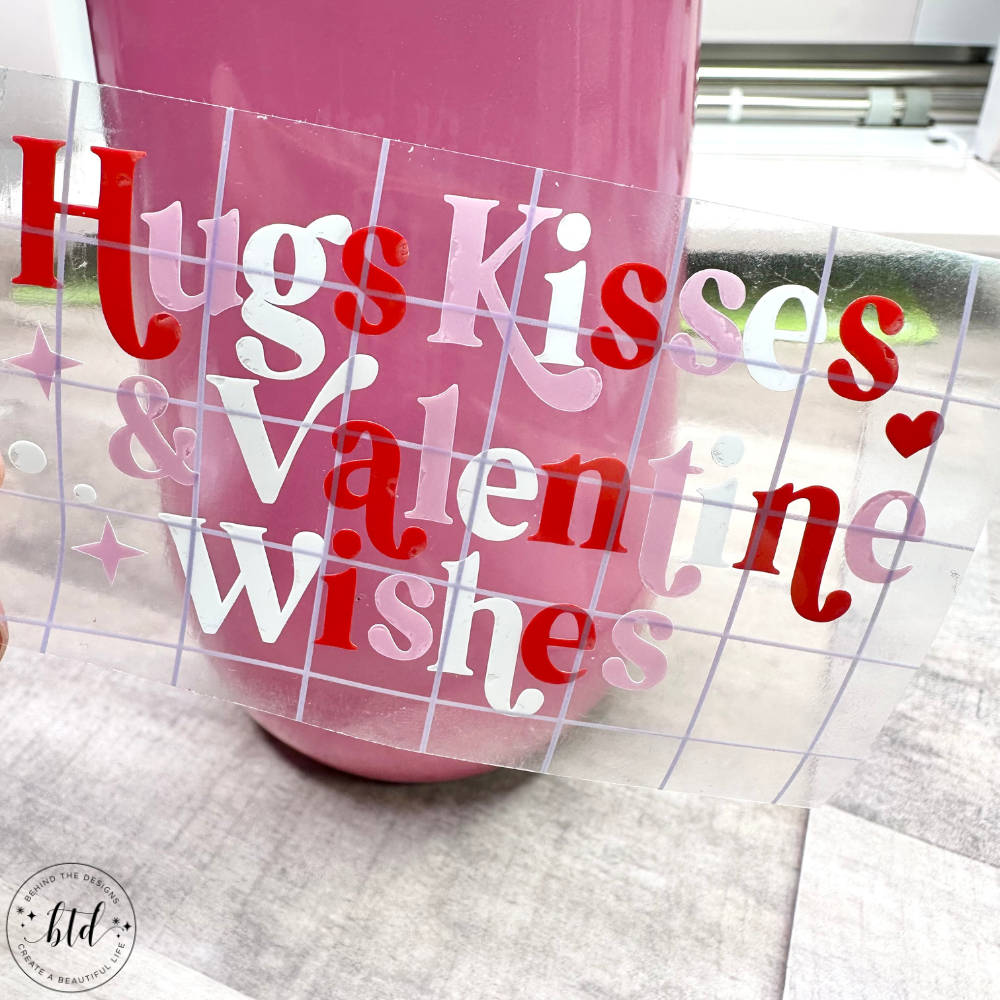
Step 3: now it’s time to transfer your design to your tumbler! Cut a piece of transfer tape that is roughly the same size as your design. Remove the protective film from the transfer paper and place it sticky side down over the top of your design. Use your scraper tool to smooth out any air bubbles (on both front and back), gently pull away the vinyl backing to transfer your design to the transfer paper.
Project Tip: If you are using multiple colors you have the option to get all the colors onto one piece of transfer tape (as shown above) or use three separate pieces of transfer tape and apply easy layer separately.
Step 4: grab your wine tumbler and carefully place your design on it. Press your thumb over the design to adhere it, then use a soft-edge scrapper to ensure it sticks and removes any air bubbles. Carefully peel back the transfer paper.
That’s it! The last step is to fill your new Sweet Berry DIY Valentine’s Day Wine Tumbler with your favorite wine and enjoy both. Do you love wine? What’s your favorite brand of wine? I’d love to hear your favorites! Drop me a comment below.
Were You Inspired To Create A Cricut wine Tumbler?
Mention us @behindthedesigns or tag us using #btdinspired so we can see your creations! You can also leave a comment below!

Want to always be in the know? Be sure to subscribe to the newsletter to receive emails of all the latest blog posts and get the first scoop about any digital printables and freebies.
Join me on Instagram, Pinterest, Facebook and the Creative Planning Expressions Community to see what I’m up to as I Create a Beautiful LifeTM!