
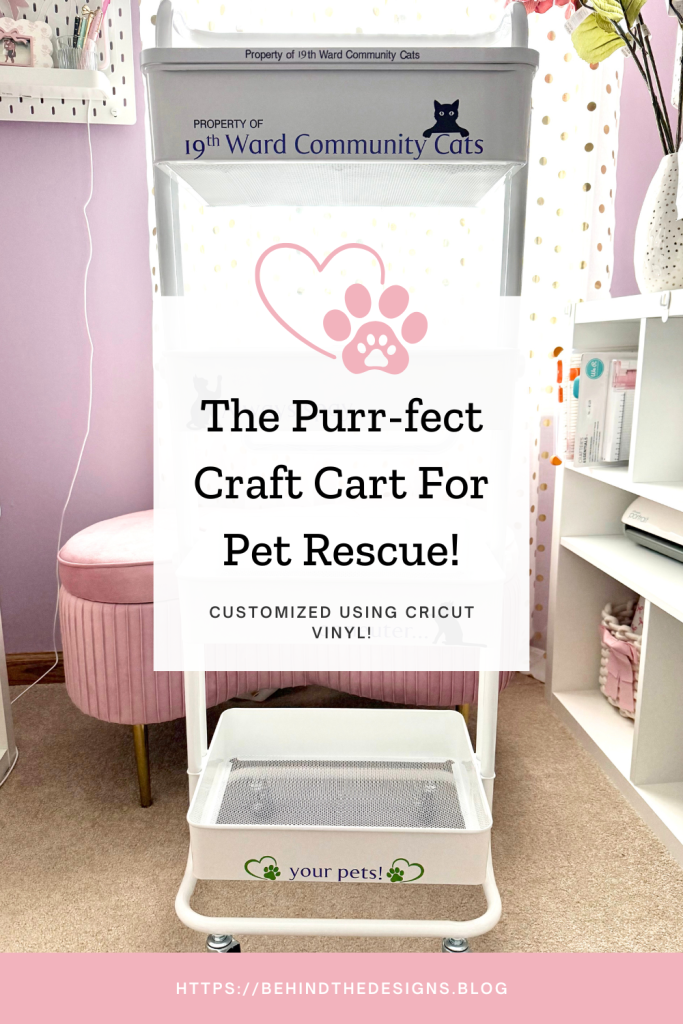
Using a craft cart to organize craft supplies is a no-brainer! But have you ever thought to use a craft cart to organize pet supplies? In this post get the details on how I Customize the Purr-Fect Craft Cart using Cricut and donated it to a pet rescue group!
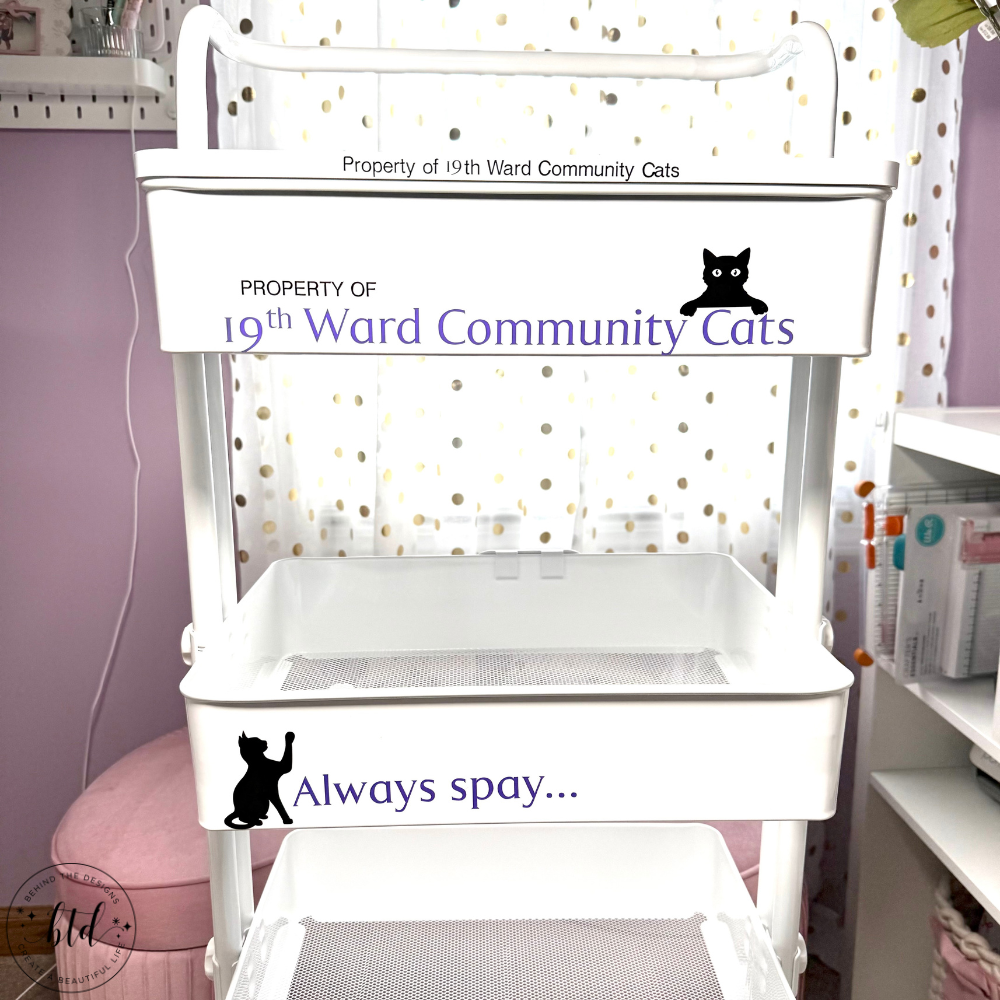
We’ve all seen the three-tiered rolling craft carts which are so versatile for organization and portability. You can literally use these craft carts for just about anything you want to organize around your home. I’ve used these very carts for organizing beauty products, jewelry, craft supplies, journal supplies, art supplies and so much more!
So when I started volunteering for a local cat rescue group (19th Ward Community Cats) cleaning up the cat room, I noticed a need. They had a very small tiered cart that held all of the cleaning and pet food supplies for their group. When it was my cleanup day I noticed this cart really wasn’t very functional.
don’t miss out!
Get More Craft Cart Storage Organization Ideas Delivered Straight To Your Inbox!
Sadly, animals, rescues and veterinarian offices around the world are in a crisis right now. It’s so heartbreaking to see so many animals suffering. I try to do my small part to help when possible and that’s when I decided to donate a new cart to this amazing organization. For this project I decided a four-tiered craft cart would work perfectly!
Of course, I completely forgot to get a picture of the existing small cart. But, rest assured, it was beyond over flowing and it was small. With this new cart there would be separate shelves for cleaning supplies and food supplies.
The best part about this new craft cart is the two middle shelves are adjustable. So it really amped up the customization factor! I also picked up the white wood cart topper, cart handle and the roll holder (not shown) which is perfect for paper towels.
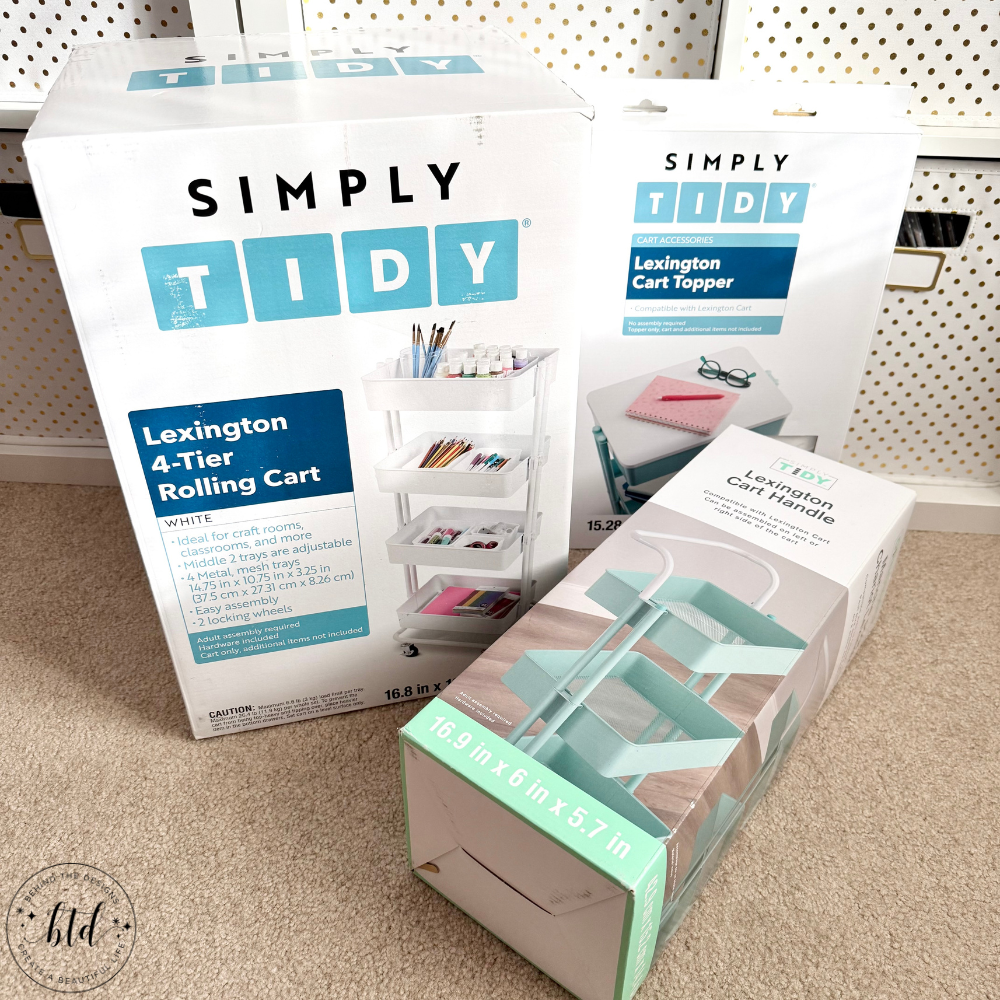
Supplies
- Lexington 4-Tier Rolling Cart by Simply Tidy in White
- Lexington Cart Topper by Simply Tidy in White
- Lexington Cart Handle by Simply Tidy in White
- Lexington Roll Holder by Simply Tidy in White
- Cricut Permanent Vinyl in Black
- Cricut Permanent Vinyl in Lime Green and Purple (their charity colors)
- Cricut Design Space Images: #M5067176C, #M505B4F2E, #M505DOEAF, #M50635DFA
- Cricut Design Space Fonts: AVShalom MF, LuMarcCom
- Cricut Explore – Cricut Joy – Cricut Joy Xtra
- Cricut Cutting Mat
- Cricut Brayer
- Cricut Weeder Tool
- Cricut Scraper Tool
- Cricut Paper Transfer Tape
Be sure to check out my Amazon Storefront for some or all of the supplies used in this project and more.
Customize A Craft Cart For Charity
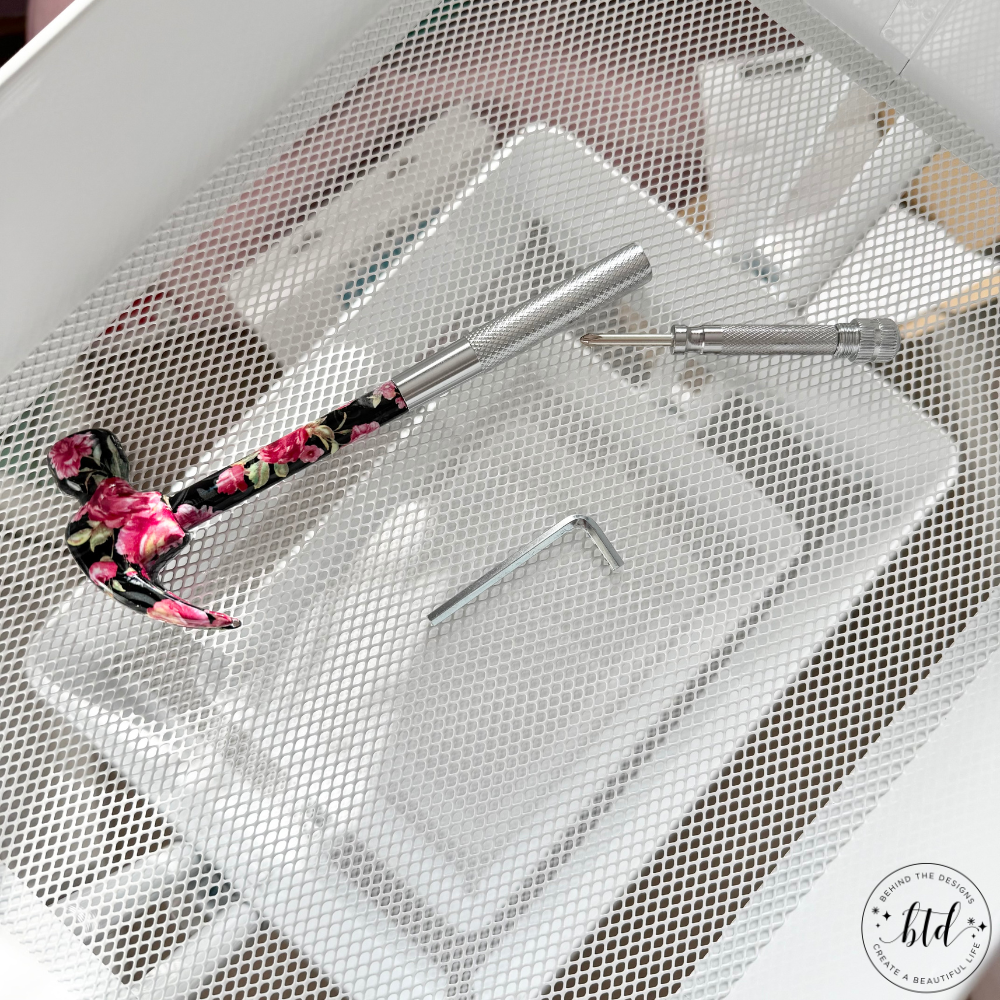
Of course the first step you need to do is assemble the craft cart. But the Lexington cart from Michaels is super easy to assemble and they give you everything you need, except the screwdriver.
Assemble The Craft Cart
You basically start at the base of the cart and assemble upwards. It’s so easy a kid can do it! I’ve always had three-tiered carts so I was pretty excited to see how this four-tier craft cart came together.
Having added the cart handle took this project from good to best! Although this would not have worked as well on carpeted floors, the cat room is located inside a pet retail store so the floors are smooth. That made all the difference in the functionality of this cart handle.
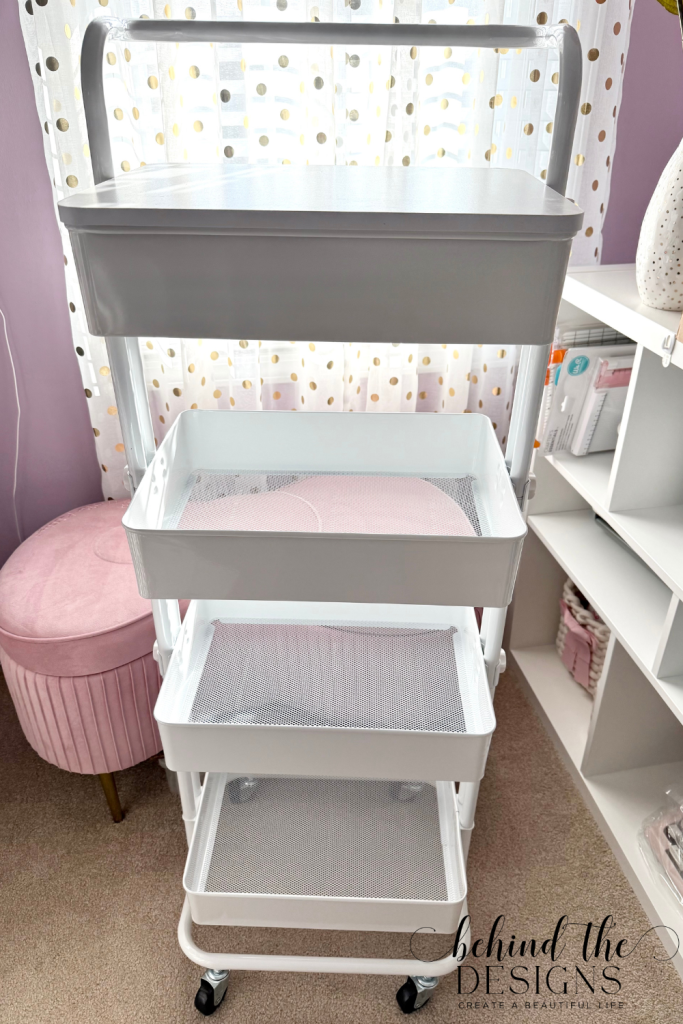
Being able to roll the cart from the back to the front of the store and vice-versa while also using the top as a shelf…brilliant! Plus with the two middle adjustable shelves it allows space for taller cleaning items such as spray bottles. While I wouldn’t suggest putting a big bag of food or litter on the cart, it does the job for pet food and cleaning supplies.
Even without adding Cricut vinyl this rolling craft cart would be perfect for the needs of any pet charity. But I wanted it to also be the ultimate awareness tool for them as well. So let’s add some Cricut vinyl!
Cut and Weed Cricut Vinyl
Most of the work in Cricut Design Space is finding the fonts and images that work for the project. I wanted to be sure to include their charity brand colors (purple and bright green), as well as some cat images too. Of course, paw images are a must!
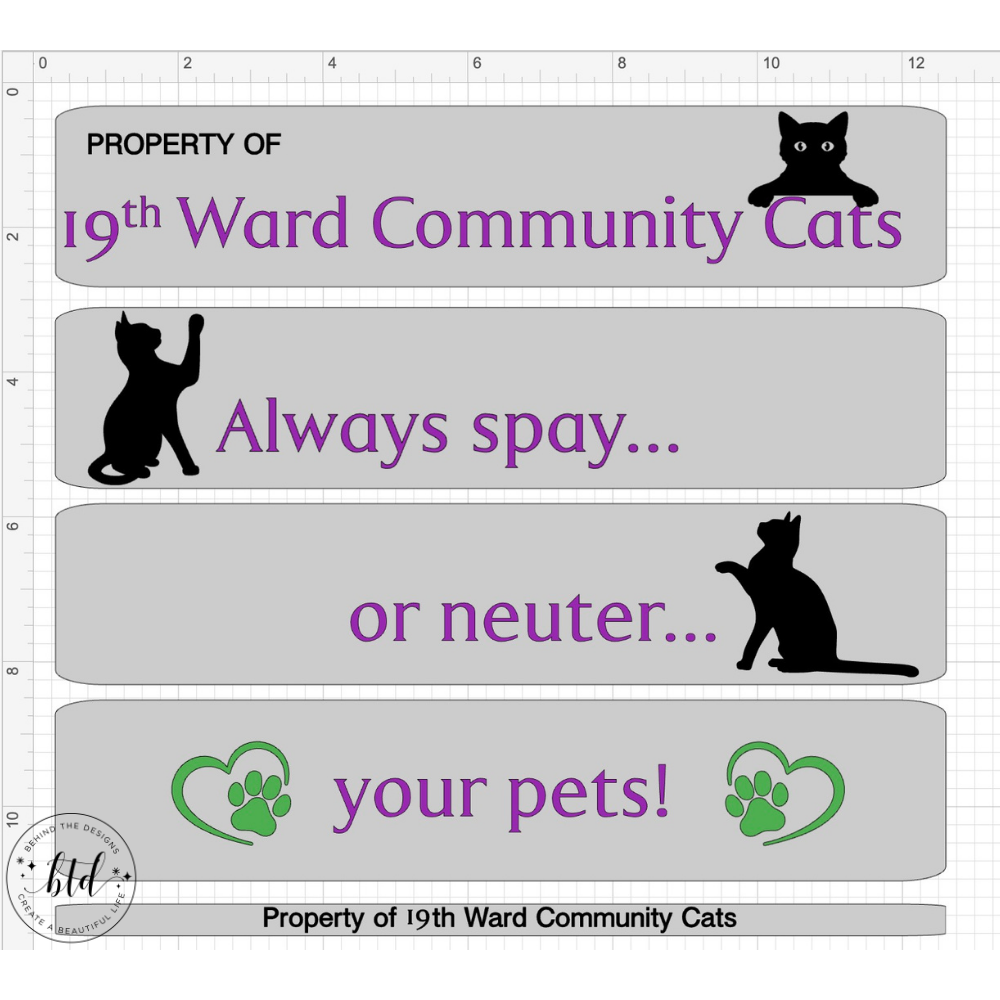
To help me get started I created four gray boxes which represent the size of each shelf and the wood topper.
Box Sizes
- Wood Topper -12.3″ x .44″ (actual height was just shy of 1/2″)
- Each of the 4 shelves -12.3″ x 2.5″ (actual shelf dimensions are 13″ x 3″)
Next I took the most obvious images (the two black cats) and placed them on separate shelves. I went the extra mile by also including the mantra of most pet rescues…always spay or neuter!
Probably the hardest part of the whole project was just getting the best font and size for the edge of the cart topper. For a space that small it’s best to use a non-serif font so there is no dealing with those pesky letter edges. Before cutting the vinyl I hide all four gray boxes because they were used just for size.
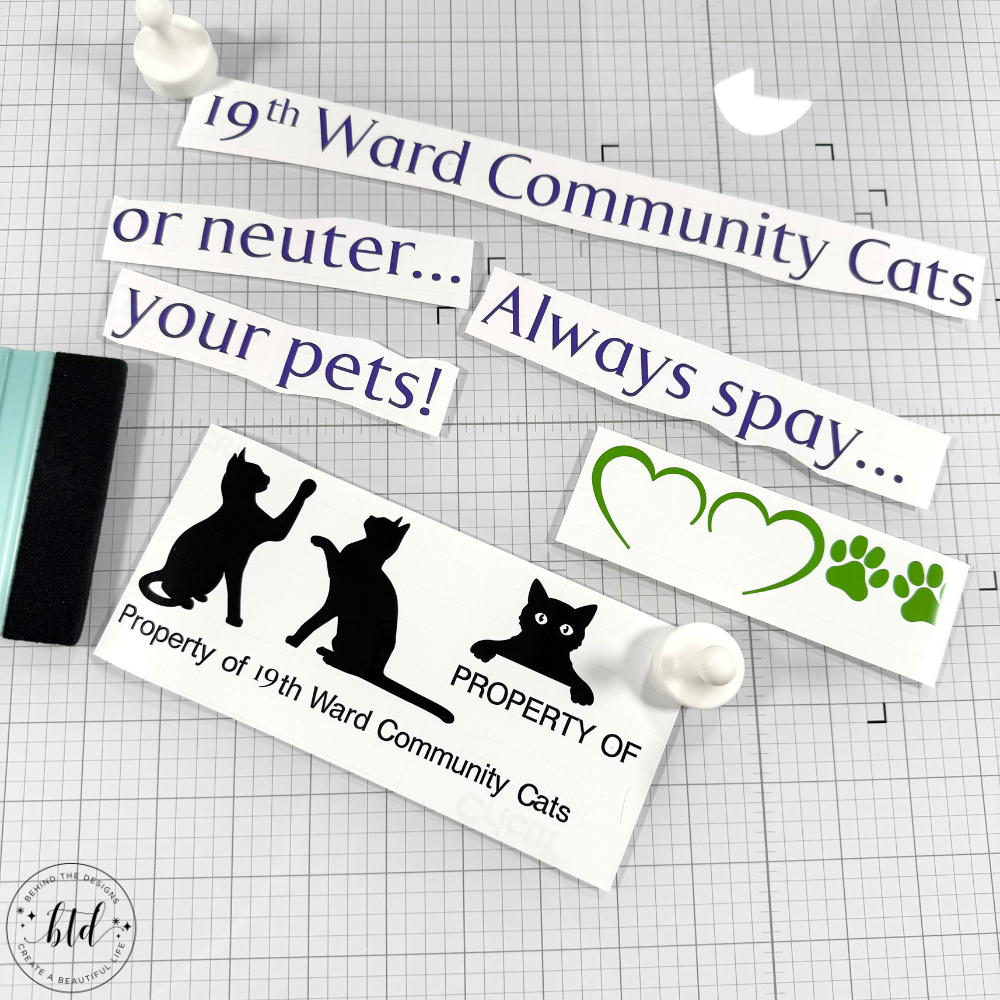
Next I went through and cut each shelf decal in the appropriate vinyl colors. From there it was a matter of getting them onto the respective shelf and lined up properly.
Craft Cart Desgin tip
It’s easier to put the Cricut vinyl on without the shelves being assembled or at least don’t add the cart handle until you are done with adhering the vinyl. I found the handle got in the way of the shelf laying flat enough for me to eyeball the design alignment.
Apply Vinyl To Craft Cart
As mentioned in the tip above, I had already put the handle on so adding vinyl wasn’t as easy as it could’ve been. But in the end it all came together and it turned out perfectly. Based on Dottie and Ozzie’s approval I think I did okay. {smiles}
As a side note, the good news is both Dottie and Ozzie have been adopted and even better they were adopted together!
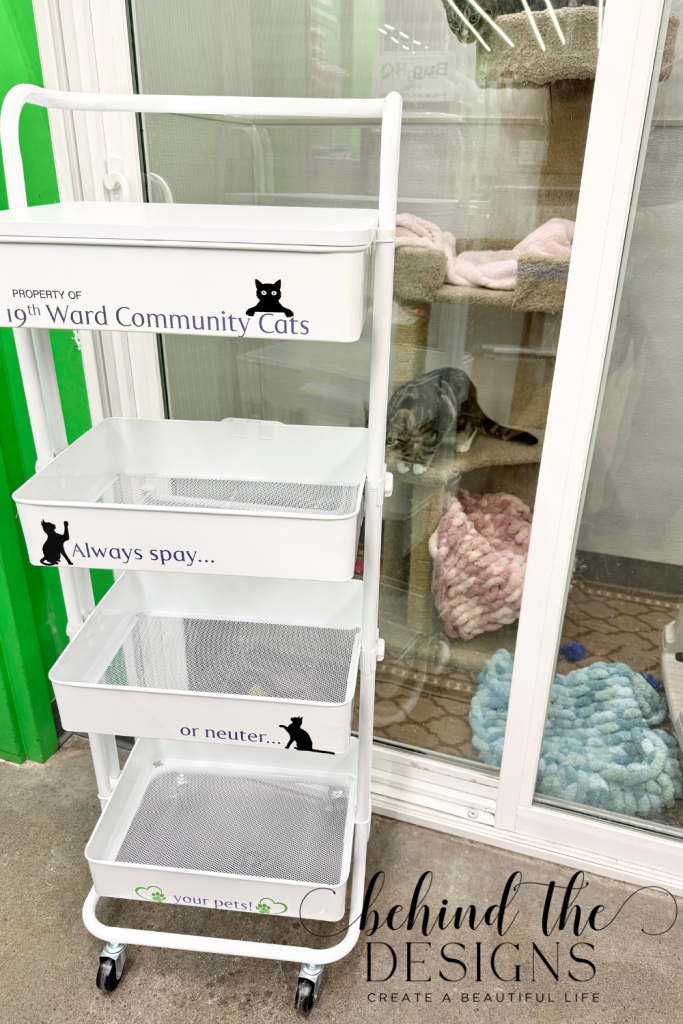
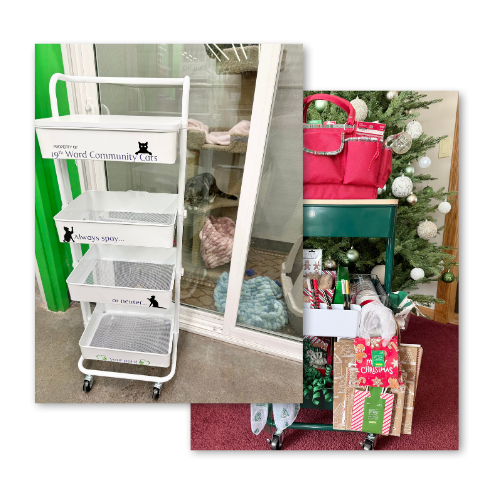
The last step was to load up the craft cart with all the cat food and cleaning supplies. Everything fit and there was even room left over for more supplies. But we immediately found there was a slight weight issue coming from the cat food. But that was an easy fix!
My husband grabbed some clamps from the hardware store and added them on both sides near the bottom, just before the curve in the bars…and it worked perfectly! Now the volunteers have a worthy and stable rolling craft cart to work with.
Typically I clean the bowls while my husband does the litter box. I can attest to how much easier it is to roll the cart to the sink (cart handle) and have a place to set the bowls as I clean them (cart topper). But moreover I’m just happy we were able to help this charity and offer a little relief for the volunteers who help out.
The added bonus for the pet rescue is the awareness the rescue gets (and pets, in general) just by having the cart sitting in front of the cat room!
What was your favorite part of this Purr-fect Craft Cart? I’d love to hear your thoughts! Drop me a comment below.
Were You Inspired To Create a Pet Rescue Craft Cart?
Mention us @behindthedesigns or tag us using #btdinspired so we can see your creations! You can also leave a comment below!

Want to always be in the know? Be sure to subscribe to the newsletter to receive emails of all the latest blog posts and get the first scoop about any digital printables and freebies.
Join me on Instagram, Pinterest, Facebook and the Creative Planning Expressions Community to see what I’m up to as I Create a Beautiful LifeTM!
