DIY Daisy Themed Gift Ideas using Cricut
There is nothing you can dislike about daisies! This is a great DIY if you need a quick gift for a daisy lover or just want to create something fun. Daisies just make you feel happy which made creating these DIY Daisy Themed Gift Ideas all the more fun!
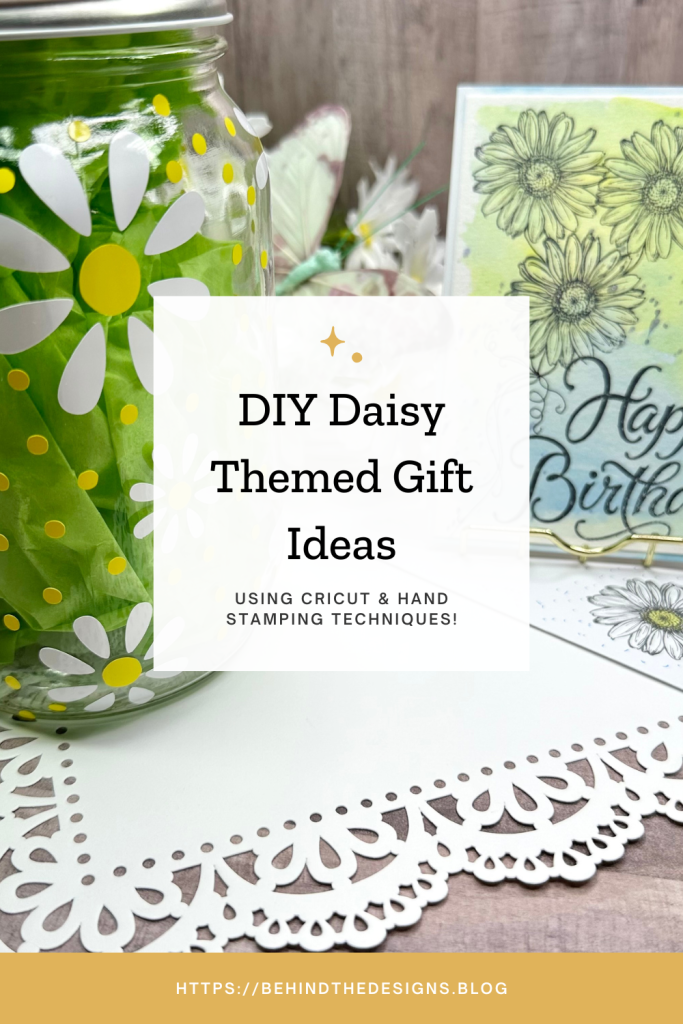
What is it about daisies? They just make you feel happier, lighter and overall more joyful. So when it came time to create something special for my daughters’ birthday I wasn’t opposed to her current love of daisies. Originally I had only planned on creating the DIY Daisy Mason Jar using my Cricut machine. But once it was finished it really needed a matching themed card!
Having all the supplies you need to create at whim really is a blessing because I did have my heart set on a DIY Hand Stamped Daisy Birthday Card. Which then also led to a matching card envelope too! Get all the details below.
don’t miss out!
Get All The Cricut Vinyl Projects and Special Offers Delivered Straight To Your Inbox!
I love to share all these great Cricut project ideas with you because it also documents my daughters’ quirks. Like when she loved this Silly Goose DIY Reusable Shopping Tote Bag which I just realized both used yellow in the design.
Of course you can use any colors that you wish to create your DIY daisy themed Cricut project. I would think this project would look so pretty using pale pink daisy petals. Don’t you think?
The supplies listed below include for both the daisy mason jar as well as the stamped birthday card. To make it easy for you most of the items can be found in my Amazon Storefront.
Supplies For Jar
- 16 ounce Mason Jar with Lid (clear)
- Cricut Permanent Vinyl, White and Stone Yellow
- Cricut Designs Space Project (search for): “Daisy Wrap For Square Glass Jar” by Myra Luy-Aban
- Cricut Explore – Cricut Joy – Cricut Joy Xtra
- Cricut Cutting Mat
- Cricut Brayer
- Cricut Weeder Tool
- Cricut Scraper Tool
- Cricut Paper Transfer Tape
Supplies For Card
- 4″ x 5.5″ White Card Base
- Koi Water Colors Field Sketch Kit
- 140 lb. Watercolor Paper
- 1-1/2″ diameter Daisy Rubber Stamp
- Happy Birthday Rubber Stamp
- Black Micron 01 Pen
- Tim Holtz Distress Oxide Black Soot
- Double Sided Tape
Be sure to check out my Amazon Storefront for some or all of the supplies used in this project and more.
DIY Daisy Themed Gift Ideas
Now it’s time to get to the fun stuff! I guarantee you once you get started with creating daisy projects you won’t be able to stop!
1
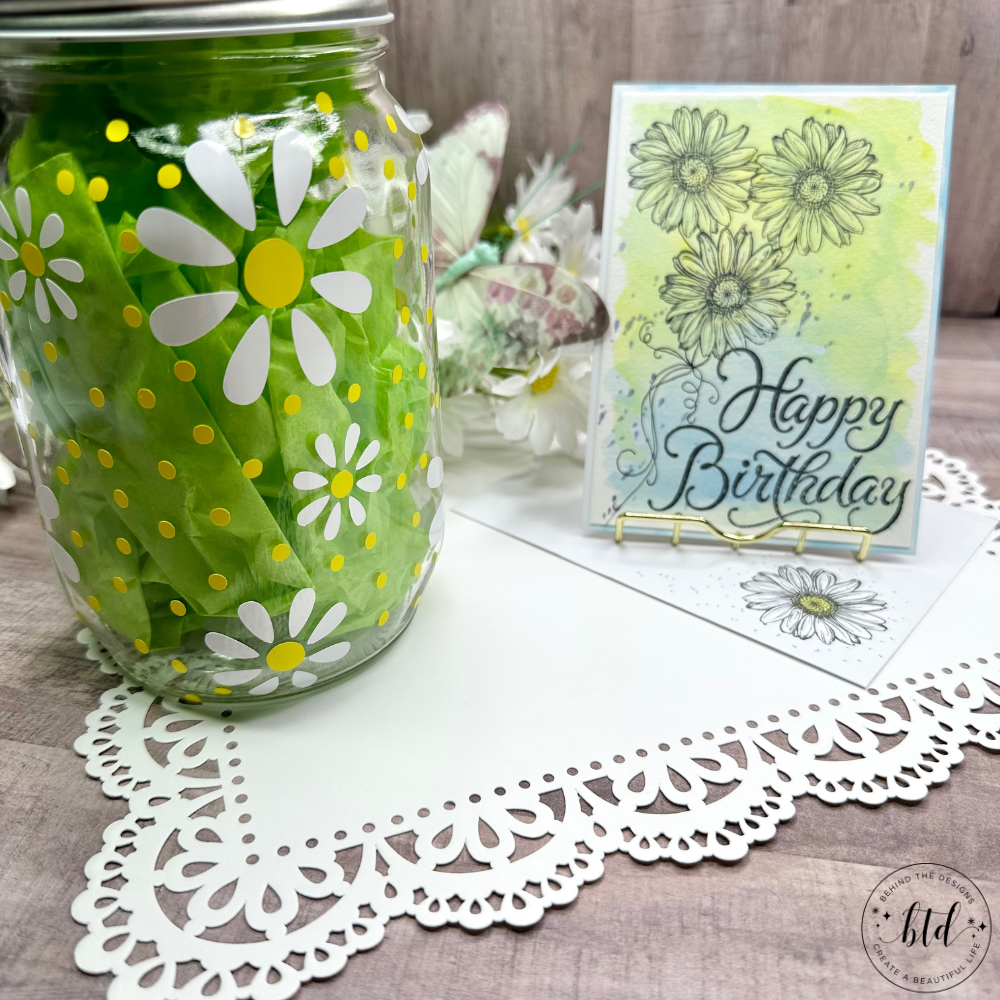
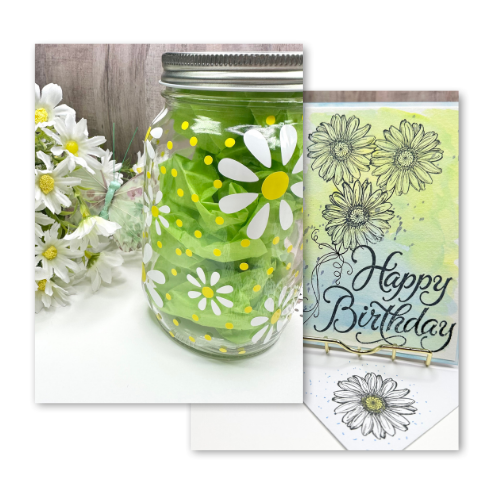
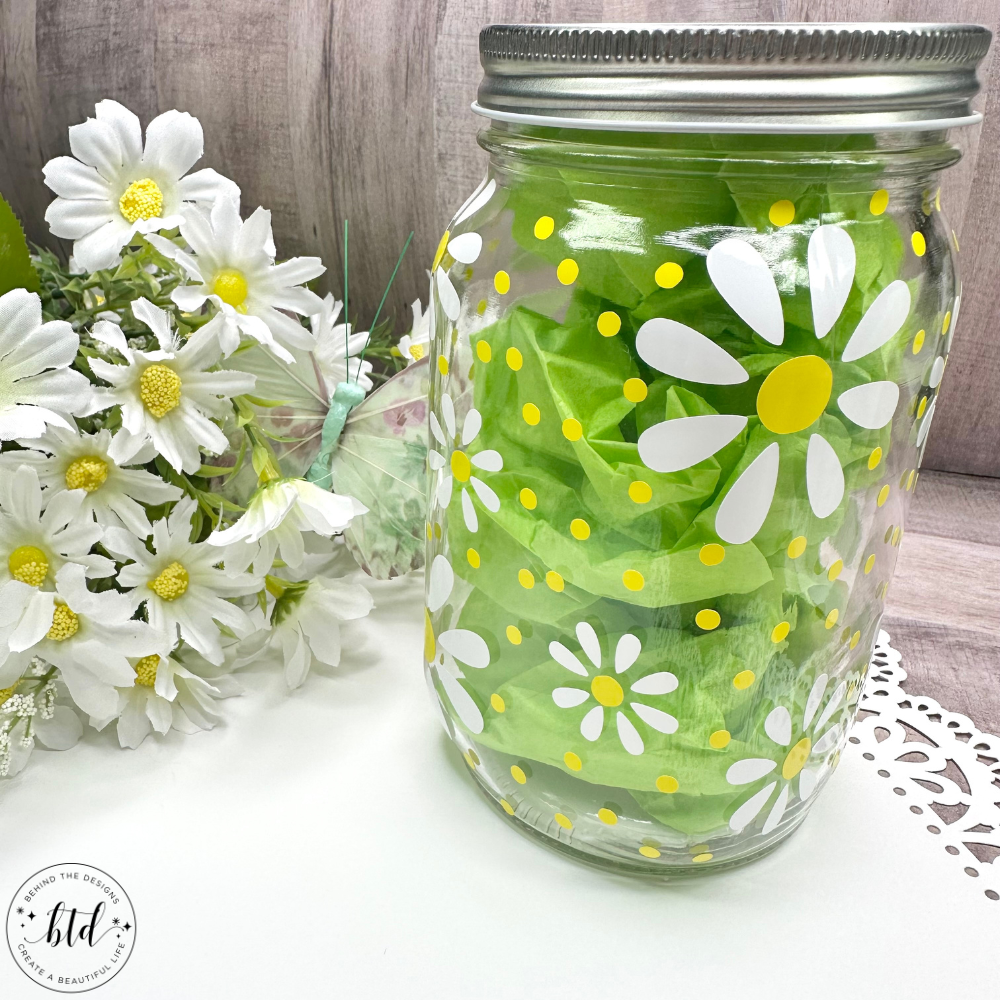
DIY Daisy Mason Jar
This daisy mason jar is so cute! It turned out perfectly and I really think the vinyl polka dots add another dimension to the vinyl daisy.
The first thing you want to do is measure the circumference of the jar you are using. Keep in mind a true mason jar has a raised feature to its’ design. The mason jar I used is a generic one that has a flat surface all around the jar.
Take your jar measurements, load the design into a new Cricut Design Space mat and resize it for the jar you are using. Before cutting the vinyl decide if you plan to cut both colors in one cut or separate them. Get the vinyl onto the mat, use your brayer tool to smooth it out and cut the vinyl.
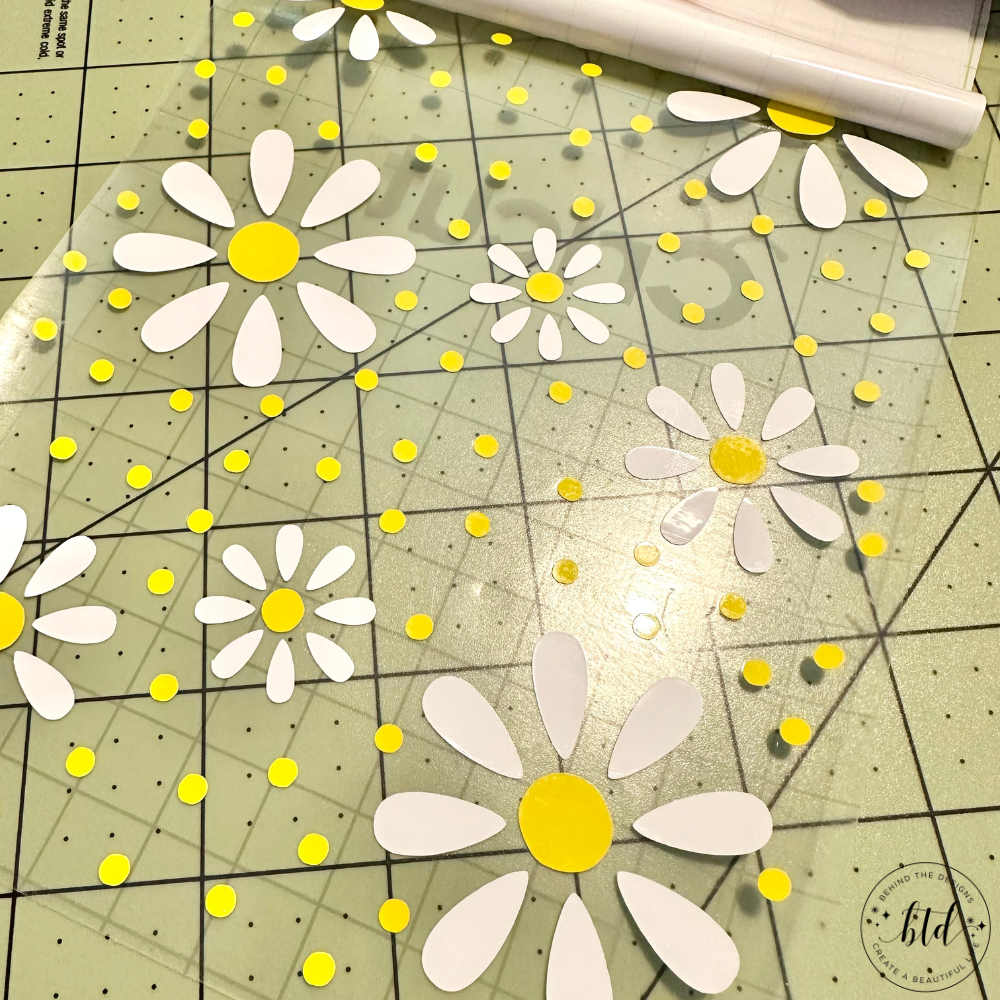
This is the part of the project where you have to decide if you want to apply each layer separately to your mason jar or as one layer. For my project I chose to create one vinyl layer and adhere it as a single piece.
How to Create One Application
- Step One: Weed both designs.
- Step Two: Transfer the daisy petals to transfer tape.
- Step Three: Line up the daisy petals to the yellow vinyl layer, burnish and removing vinyl backing. You now have two vinyl layers on one piece of transfer tape.
- Step Four: Line up your vinyl design on the mason jar, wrap it around and burnish it down.
- Step Five: Gently peel of the transfer tape
Find more multi-layer vinyl tips in the Berry Sweet DIY Valentine’s Day Wine Tumbler Using Cricut.

2
DIY Daisy Hand Stamped Card
I love to use blank notecards and greeting cards because I can customize the message inside to the recipient. This DIY Daisy Hand Stamped Card and Envelope was created for my daughter, who at the time was loving daisy flowers.
To get started with this birthday card I cut a piece of watercolor paper down a little smaller than the size of the card base. I used my favorite watercolor paints to give a wash of color across the background. Since the card base was not watercolor paper, I only gave it a light wash of watercolor around the edge.
After the paint was dry I used a wood block daisy rubber stamp and stamped three daisies onto the watercolor base. I wanted them to look like a bundle of balloons. I also stamped out ‘happy birthday’ with another wood block rubber stamp. Then I used my black micron pen to create ribbons for each of the three daisy balloons.
The last step was to use double sided tape to adhere the watercolor base to the white card base. But I wasn’t done! The birthday card looked so pretty but the envelope was so plain. So I stamped another daisy on the envelope and used some yellow watercolor for the middle of the flower.
What did you like better, the daisy jar or daisy birthday card? I’d love to hear your ideas! Drop me a comment below.
Were You Inspired To Create A Daisy themed Gift?
Mention us @behindthedesigns or tag us using #btdinspired so we can see your creations! You can also leave a comment below!

Want to always be in the know? Be sure to subscribe to the newsletter to receive emails of all the latest blog posts and get the first scoop about any digital printables and freebies.
Join me on Instagram, Pinterest, Facebook and the Creative Planning Expressions Community to see what I’m up to as I Create a Beautiful LifeTM!