Whether you are faced with trying to record past memories or recording current moments, using a bound journal has many advantages. This post will outline three ways to use a bound journal for preserving memories and how to customize your memory journal cover.

If there is one tip or suggestion I could give it would be to start preserving memories now. Don’t wait or let this or that reason hold you back. I’ve learned this the hard way when my mother passed in 2020. When she left this world she took all those memories and family history with her. I can’t just pick up the phone and ask her anymore. That leaves a whole stack of unidentified family photos along with dates the photographs were taken. This makes creating my memory journal that much harder.
It has been a little over a year since my mother passed and I admittedly haven’t worked on this memory keeping journal since I first created it. But, with my mothers birth date just a little over a week from now, I felt it was time to pick it up and get working on it. Everything has its’ time and that time was now.
JOIN our email community!
Subscribe to get crafts, Cricut, and DIY tutorials, printables, planner tips, tricks, hacks and more! It’s totally free!
It is my hope this post inspires you to start a memory journal and keep your families’ precious memories alive.
01. Supplies for Bound Journal Memory Keeping
- Journal
- Cricut Explore Air 2
- Cricut Permanent Vinyl Black
- DYMO Label Maker
- Fiskars Craft Knife
- Various scrapbook papers and embellishments, all available at your local craft store
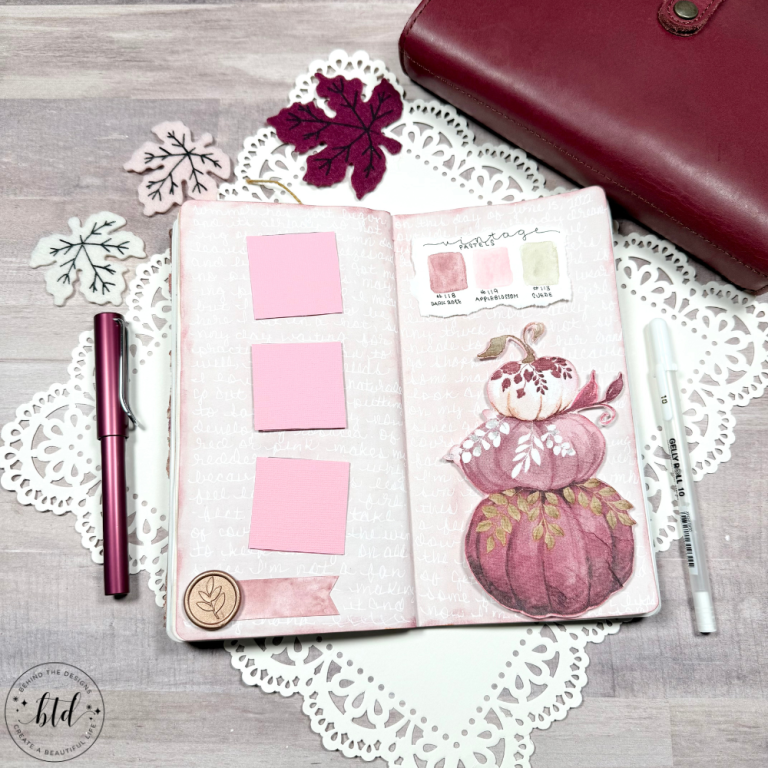
The journal I chose to use came from Michaels. It’s an Artist’s Loft 6×8″ journal with 68 pound paper (100 gsm) and 192 pages. They have a number of colors to choose from and I was happy to find a color that matched my mothers urn.
02. Three Ways to Use a Bound Journal for Preserving Memories
The memory journal I created for my mother consists of pages with pictures along with any information I was able to get from relatives or what I already knew. But it also consists of journal type pages where I would just jot down a quick memory I had remembered of my mother.
02.1 As a Memorial Guess Book
The beauty of using this bound journal is that it already had blank index pages right in the front. I used those pages as a memorial guest book log of visitors on the day of her wake.
I added in the date of her wake to each page using my Dymo label maker. Then I hand-lettered in an instruction header on each page that read, “Name…Address…Zip”. That way I could easily send out thank you cards later on.

On the opposite page I used washi tape to tuck in a piece of gold floral vellum; behind that vellum is a “what happened on this day” page (the day my mother passed). This will be a page where I will record my thoughts, feelings and things that happened that day.
02.2 As a Memory Book
Another function of this journal was to use the dot grid pages as a memory book. Since this journal has a bound spine, I decided to use only copies of photos to reduce the amount of bulk that occurs with real photographs. An added benefit to using just copies is that I can paper punch them, write on them, sticker on them and not have to worry about ruining the original.

If you wanted to use real photos you could take out every other page by cutting along, as close as possible, to the spine binding using an exacto knife. This idea works really well if you love to scrapbook and plan to use a lot of bulky pieces in your memory keeping project.
I also found that this was a great journal to use up some of my washi collection since adding washi tape wouldn’t really add too much bulk to the pages. I did my best to keep the embellishments to non-bulky pieces as much as I could.
02.3 As a Journal
As I filtered through both the old and new pictures that I had of my mother, I was quickly discovering that a good bunch of them I didn’t know who was in the picture or when it was taken. So what I did first was to send the picture out to family members who might know. If no one knew, then I still put the picture in the journal and then just used that page for a quote, a memory I had of my mother or some were even left blank.

To fill in other pages I did fun things like the name page above. I always loved the fact that both our names started with the letter “S” and both our birthdays are in February. So that was how this name page came to be. It’s a simple journal page but it still works perfectly in my mothers memory journal.
03. Additional Tips for Memory Keeping
When memory keeping in any format the possibilities for creativity are endless. Below I’ve detailed some of the additional ways I customized my mother’s memory journal, as well as some creative ideas and tips for you to use.
03.1 Create Pocket Storage
Since this is just a bound journal of only dot grid pages, I took a small gift bag that I had on hand and taped it into the back of the book. This gave me the perfect sized pocket to store extra prayer cards, small photos and any flower message cards.

It’s also possible to create a side pocket using a piece of scrapbook paper. I may also be doing this later on as I do have a few other small things I’d like to keep with the book, such as pressed flowers, leaves and trinkets.
03.2 Storing Sympathy Cards
My plan was to store the sympathy cards I received in the back pocket of the journal. Unfortunately the journal size I chose wasn’t large enough for some of the sympathy cards I received. That has been my biggest challenge so far -how to store the sympathy cards so they stay preserved but also stay with the journal. At this time all I can think of doing is finding or creating a memory box that will hold everything.

Do you have some ideas for different ways to store sympathy cards? I’d love to hear your ideas! Drop me a comment below.
03.3 Customize the Journal Cover
For the cover, I used my Cricut Explore Air 2 machine to cut some Cricut Permanent Vinyl in black. The quote I chose reads, “In Loving Memory”. I also added my mothers picture to the middle of the cover and applied an oval lace applique frame around the photo. The last touch was to add three small paper flowers at the bottom of the framed photo.
03.4 Order Extra Prayer Cards
Since my mother passed during the lovely Covid lockdown period, we didn’t have a traditional funeral or wake. The wake was by invitation only (for close family) and we kept our distance. But there were so many people who called or mailed cards giving their condolences that it was really handy having those extra prayer cards.
When I mailed out my hand-painted DIY watercolor leaves thank you cards I simply tucked into each one of the extra prayer cards.
With 192 pages to use in this journal, I’ve still got a ways to go. But I’m so happy with how this project has turned out so far and it gives me comfort to go back through the it from time to time. Plus it helped that it was so super easy to start and work on!

If you are inspired to create a memorial memory keeping journal don’t forget to share by tagging me on Instagram and using #btdinspired, I’d love to see your work (and I just might repost your photo)!
Want to always be in the know? Be sure to subscribe to the newsletter to receive emails of all the latest blog posts and get the first scoop about any digital printables and freebies.
Join me on Instagram, Pinterest, and Facebook to see what I’m up to as I Create a Beautiful LifeTM!