Can you give the gift of…the galaxy! Sure you can! Be inspired to create this Aurora Galaxy Travelers Notebook Setup complete with Hand Stamped Tags. All you need is a paper pack, cover, inserts and metal tags to inscribe with meaningful words.

The best gift you can ever give is one that is handmade. When I can, I always try to give something hand made. To me, it just feels more thoughtful and personal. That was the case with this travelers notebook planner setup that I created for my second-oldest niece for Christmas. For her it wasn’t exactly a planner but rather I wanted to give her something to record her good memories in or anything else she wanted to record.

don’t miss out
Get more inspiring Journal & Travelers Notebook Setup ideas right to your inbox!
As I planned out my project idea, one thing was for sure -it had to be something themed in galaxy, moon and stars, constellation or along those lines. I also had to stay true to the fact that she is a vegan; she likes the color black (which is a foundation of her wardrobe); she likes to travel; she has an impressive crystal collection and; she loves her cat, Lily.
It’s always hard to pick what was my favorite part of a creative project, especially when it’s a custom gifted project. But, on this travelers notebook, my favorite part was pulling out my jewelry tools and creating hand-stamped jewelry-style tags that I fashioned into page marker paperclips. I used four tags to stamp out, “life”, “story”, “dream, “wish” and I just love how they turned out!
Supplies
- Recollections Boho String Journal in black, standard size (Michaels)
- Charms from The 1407 Planners Diamonds in the Sky Kit
- Adhesive square label pockets (Target Dollar Spot)
- Aurora paper pad (Michaels)
- Silver moon pen (TJMaxx)
- Canon Ivy Mini Photo Printer
Aurora Galaxy Travelers Notebook Details
While you may not find most of the specific supplies, you can easily recreate this idea. So let’s just dive into the creative details of this travelers notebook setup!

1
Travelers Notebook Cover
Choosing the cover was easy because I’m at Michaels at least every other day and I happened across this solid faux black leather travelers notebook and it fit the project perfectly. This particular travelers notebook is called a ‘single’ meaning it is just the cover (no pockets) and it comes with just one insert.
It came with a suede wrap-around closure with antiqued charms attached. To make it easier to open and close I changed the closure to black elastic and added the charms to that strand.

2
Page Marker Details
To make the dangle page markers I used pieces from The 1407 Planners Diamonds in the Sky kit. All I needed to do was use longer cording to fit the travelers notebook length. I created two page markers, the first has a silver moon charm paired with an “orbit” bead (as I like to call it); the second holds stacked “lunar crater” beads with a metal starburst between them. Both fit like a “charm”!

3
Full Moon Insert
On the inside cover I placed a clear pocket sticker and tucked into it a few journal cards. I also personalized the pocket a little by adding a black initial sticker with the letter “M”.
For the first insert, I glued to the notebook a sheet of paper with a holographic moon print on it. The paper for this project comes from a paper pack from Michaels it’s made by Craft Smith and called Aurora. Dare I say, this paper pack was “out of this world?!” To finish off that insert, I also glued on a small quote that reads, “Follow you own star”.

4
Insert Dashboards
When I started the project I knew I was going to add the moon paper on the first insert but didn’t have a plan for the other notebook inserts. So I had her choose a few other papers from the pack that I could use in the rest of the setup. She didn’t know what I was making, just that I needed her to choose some extra papers. This also made it more personalized to her tastes and likes.
The next thing I did was to glue down (also directly to the notebooks) two other papers from the same pack. I’m so in love with that galaxy print paper and that washi strip paper is perfect for her love of crystals. Isn’t this paper gorgeous?!
I kept all the paper natural (no laminating) so that it shows it’s gentle use over time -just like a true traveler. There is just something more pleasing about the feel of the natural paper rather than a smooth laminated surface. On these dashboard covers she can leave them as is, add a quote or even put sticky notes on them.

5
Back Cover Pocket
On the back cover I added another clear sticker pocket. Again, in each clear sticker pocket, I tucked in a variety of journal cards, shapes and tags all from the same paper pack.

6
Silver Moon Pen
Another amazing find for this travelers notebook setup was this silver holographic moon pen. As soon as I saw it I all giddy with happiness. I may have even crouched down in the corner of the store with shifty eyes thinking someone else saw it and surely was going to try and snatch it from me. Both this pen and the pen I used in my daughters’ Rainbow Unicorn Kit Travelers Notebook Planner Setup were found at TJMaxx.
7
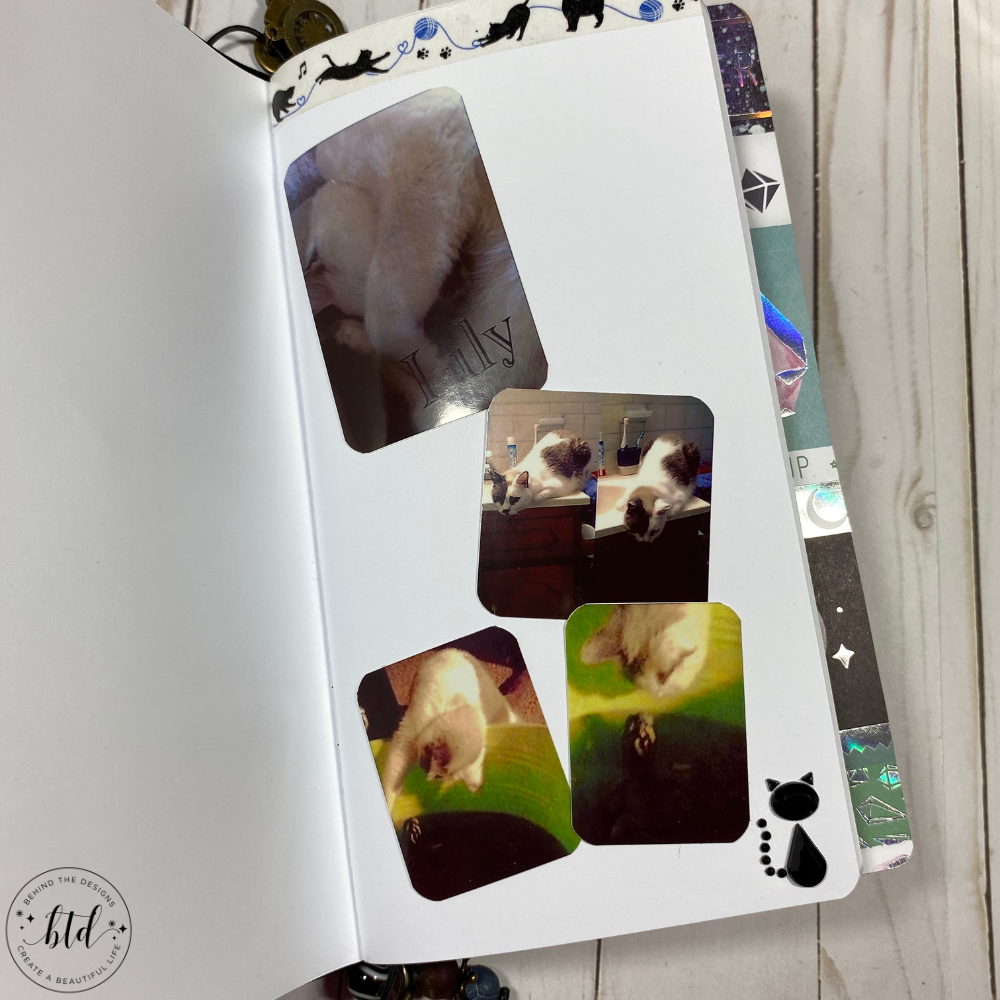
Memory Journal Pages
To get her started her started with some memory keeping I created her first journal page. I used my Canon Ivy mini photo printer to print some pictures of her cat, Lily (who she adores!). I added some cat themed washi at the top and a cute black cat gem sticker at the bottom. Now she can write a journal page or simply add more pictures to the opposite side.

The same is true for this other journal page that I started for her. I used another journaling card from the Aurora paper pack, glued it down and stamped a journaling square below it. I’ve found that journaling stamps are a great way to provide an area to journal a small memory and they help to keep your hand writing straight.
As a south-paw, I can’t ever seem to write in a straight line. I’ve learned different techniques, over the years, to help with this issue. But, having a stamp with the lines already there really helps a lot!
There are a number of ideas she could use on this journal spread. She could use a quote in the triangle; or a quote on a piece of paper below the journal card; or even tape down a picture. The ideas are endless.

8
Journal Insert Idea
Since I was going to be posting her travelers notebook I asked if I could share a page or two from her setup so far. She had decided to use the kraft paper insert to track and record her growing crystal collection and above is a two-page spread she created for her smokey quartz and green aventurine crystals. I love her idea of using the silver photo corner holders too.
For each of the stones in her collection she would put in a picture and then list the stones’ color, chakra and healing properties. With all the stress we are under these days, I think keeping this information on crystals is a great idea. I may need to borrow her idea.
Additional Setup Tips
As with all my projects, I had a huge list of things I wanted to incorporate into her travelers notebook setup. So to meet those goals I had to modify the notebook a little. Below I’ve listed three easy ways to improve on and expand your single travelers notebook cover.
01. Add Clear Sticker Pockets
To make sure she had room to carry pictures, quotes, journal cards or anything else she wanted, I added a clear sticker pocket to both the front and back covers of the travelers notebook. This pocket is a great addition because it can also hold stickers, a small ruler, a washi tape sample card….the possibilities are endless.
In case you were wondering where I got the sticker pockets, I picked them up at the Target Dollar Spot. They are usually offered around the back-to-school time, in case you wanted to pick up a packet or two for your own creative projects.
02. Add Jump Bands
To expand the number of inserts from the typical one you get with a single travelers notebook, I added a black elastic jump band that allowed me to add in two more inserts -for a total of three inserts.
At one time, in the planner world, a single travelers notebook was all the rage. But as any planner knows, one little insert isn’t going to cut it when we plan our busy days, do any kind of memory keeping or tracking in our planners. Plus it was important to give her options since she isn’t a planner gal and I didn’t know exactly how she would be using the travelers notebook.
03. Add Elastic Closure
This notebook cover originally came with a suede type wrap-around closure. It’s the standard closure style of true travelers notebooks. The cord comes out of the spine and wraps around the travelers notebook once and then you tuck the end in on the frontside. The end of this wrap closure is also where the antiqued looking charms are attached.
To keep things easy for her to use her travelers notebook, I decided to remove the original cord closure and replaced it with a simple black elastic cord to which I then reattached the charms onto. I just love the one compass charm because it fit the theme perfectly.
When I started this project I wasn’t a fan of all the holographic accents. But, once it was all together and I added in that silver moon pen….my heart swooned. I’m so happy with how this gift turned out and I hope it brings her many years of happiness and comfort.
What was your favorite part of this travelers notebook setup?


Did you create a similar galaxy constellation style journal?
Mention us @behindthedesigns or tag us using #btdinspired so we can see your creations! You can also leave a comment below!
Want to always be in the know? Be sure to subscribe to the newsletter to receive emails of all the latest blog posts and get the first scoop about any digital printables and freebies.
Join me on Instagram, Pinterest, Facebook and the Creative Planning Expressions Community to see what I’m up to as I Create a Beautiful LifeTM!