If you are a blogger you know there are many facets to this creative endeavor. We wear many hats and each of us have different needs when it comes how we manage our blog(s). But I’m here to tell you there is a planner that is already setup and ready to help you manage your blog!

In this post I will be sharing with you some pages from my own Botanical Garden Classic Happy Planner as well as sharing some tips and tricks I use to make it a functional blog planner. I’ll be covering how to use your monthly and weekly pages, incorporating and tracking statistics and finally, blogging goals.
don’t miss out!
Sign up to receive more Planner Setups Inspiration!

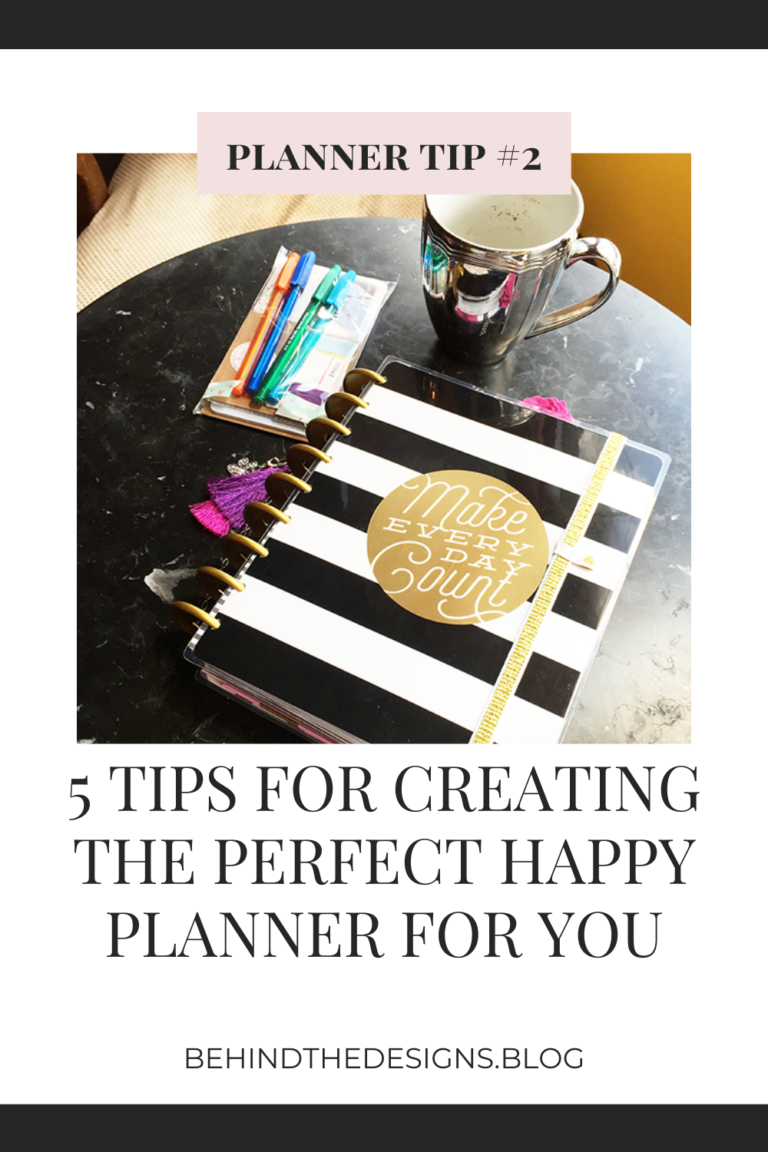
If you are new to a disc-bound planner system or the Happy Planner, specifically, be sure to check out my post on How to Create the Perfect Happy Planner for You.
Before we dive into the details let’s take a look at what pages and sections are offered in a Happy Planner (these are standard across all sizes).
- Currently page
- Tabbed monthly pages (one month on 2-pages)
- Weekly pages (previously only available as a vertical layout; but now come in a multitude of layouts)
Each of these sections can serve a different purpose when using a Happy Planner as a blog planner.
How To Use Your Monthly Layout
Much like my personal planning, I use my monthly spread as an overall visual look at my entire month. As a blog planner though, the month overview offers a great space for content planning, meetings and/or important to-do’s.

To plan my content, I use removable sticky notes (or post-it notes). That way, I can easily change the day a planned blog post goes live. Sometimes life just gets in the way and as a blogger you have the ability to be flexible. Using the Happy Planner monthly layout in this way allows for that flexibility we need.
I also use the post-it notes to enter important dates such as design team application deadlines, meetings, planner meet-ups and such. If I happen to have a unusually busier personal schedule, I will often block out dates using skinny washi tape to alert me to when I just might not have time to blog. This becomes especially true during holiday times and when this happens I will use my auto blog schedule feature to make sure my blog posts go live when I planned for them.
How To Use The Sidebar
In the sidebar I will try to summarize the important things that need to be done during the month or the blog posts I want to go live that month. I also include a few lines for blog maintenance because that’s just a necessity of the business. In the picture above, I had created a template that I cut these two functions out and pasted into my planner. But, you could easily just write those headings into the sidebar.
Capture all the necessary data and notes using the Vertical Sidebar Planner Sticker Box Printable.
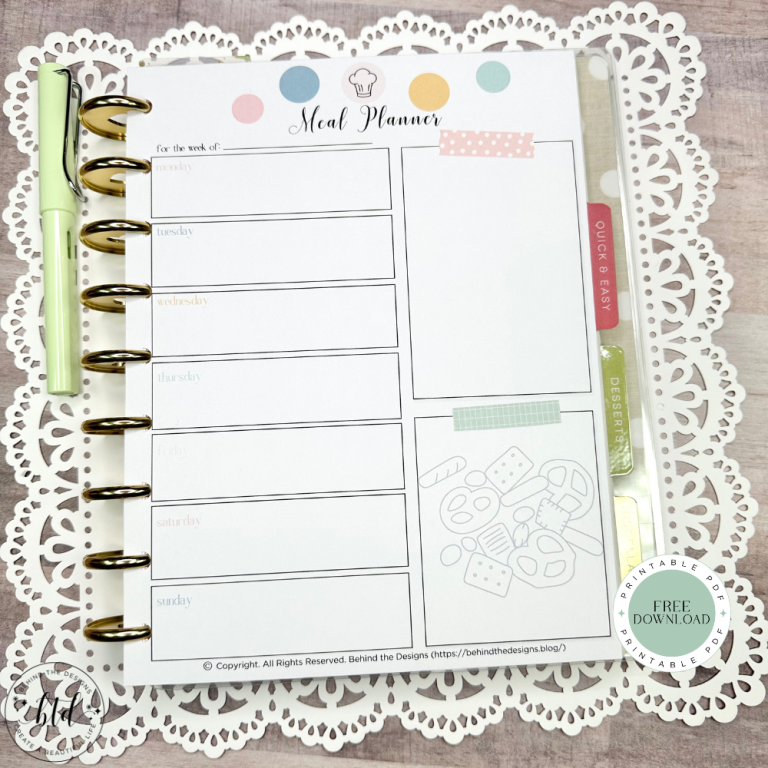
How To Use Your Weekly Layout
When it comes to planning my content for the week I have found the blog planner template printable from Persnickety Creative to be my best friend. This template has checklists and goals to keep you on track for planning, publishing, and tracking blog posts.

Listed below is a run down of what is offered on the blog planner template:
- Goals this week
- Planned Posts
- To Do This Week
- Next Week
- Post Planning -To Do
- Published Post (room for the title of the post and a checklist of what social media you shared your blog post on)
- To Do Today
- Planning Ahead
As you can see, the blog planner template (once you cut them down) doesn’t get in the way of my being able to decorate my Happy Planner (which is a huge plus for me!). I also always try to put one or more inspiring messages into my weekly spreads and of course, washi is always on the list to add in. My goal is to make my blog planner something that I want to open and work with everyday, which will ensure my success as a blogger.
Get Your Blog Planner Template Printables
- Blog Planner Template (v1) from Persnickety Creative
- Blog Planner Template (v2) from Persnickety Creative (3 pages, includes stat trackers)
The blog planner template from Persnickety Creative works in all kinds of planners including Erin Condren, Happy Planners, Filofax and other popular planners.
How to Incorporate Social Media In Your Weekly Layout
To make sure I find the system that works best for me, I will also test different layouts and elements. You can see from the layout below that I’ve incorporated yet another element (indicated with the arrows) which is a social media bar sticker. My intent is to use this element as a reminder to post to my social media accounts daily (even if it’s not a blog post). I will sometimes focus so much on my blog that I forget social media. So I’m hoping this addition will keep me on track!

You will also notice this planner spread shows blogging elements which come from a second version (V2) of the blog planner template by Persnickety Creative. The second version was a productivity power pack of three sheets of printables which included all of the original templates; along with a whole sheet of expanded ‘To Do’ lists and; a third sheet that included trackers for web stats, social stats, notes and untitled checklists that you could customize as you needed.
These stats checklists are an absolute blogger necessity for tracking how effective your blog posts are and where they count most -or where you need to improve. Having the right statistics will also help guide you to putting forth your best blogging effort and also help you understand where maybe the effort isn’t worth it. Your blog readers will guide you to what you are doing correctly and your statistics will reflect that. So tracking them is very important. Read more about capturing blog statistics further down in this post.
Set Up Blog Goals
Another very useful tool as a blogger is to create both monthly and yearly blog goals. Setting up goals keeps you on track and let’s you focus on what is important to your blogs’ success. Since this is my first year keeping a blog planner (separate from my personal planner), I wanted to set blog goals and really just keep it simple. I pulled out some Happy Planner filler notepaper (from the ‘Live Loud’ collection) and created the three sections as shown below.
What I Included in My ‘Keep It Simple’ Blog Goals Page
- List of my annual blog goals (as detailed as I needed them to be)
- List of my social media goals and;
- A detailed list of how I planned to achieve each of my blog goals
Don’t worry if you don’t have this specific filler paper. The Happy Planner offers a plethora of filler paper for their BIG, Classic and Mini planners. You could even use their plain dotted or graph paper and simply dress it up with some MAMBI washi along the punched side (you’ll have to re-punch the paper) or use it anywhere on the page for decoration.
The goal with your goals page is to make it inviting for you to visit regularly. In fact, you should visit your goals page every time you open your planner. This keeps your blog goals in your focus daily.

Shown above is a sample of annual blog goals you might set for yourself and your blog. The beauty of using the Happy Planner as a blog planner is you get to customize it so it functions for you. I would personally recommend using a disc bound planning system for your blog. It’s perfectly suited for functionality and expandability.
Track Blog Statistics
One of the last steps in creating a blog planner is to definitely track your blog statistics each month and for a variety of categories. It’s the best method to measure the success of your blog and blog posts’.

When tracking blog stats I like to keep up to date on both weekly and monthly numbers. I’ll use the sidebar forms to record my weekly stats. That way, if there are changes in any given week I can determine if they were possibly due to not posting enough or maybe the topic of the post wasn’t jiving with my readers.
Equally important, each month I will record my monthly statistics (get your copy using the link below) which will give me a bigger picture of my blog’s health and fan following.
Statistics I Track on an Annual Tracking Form
- Monthly pageviews
- Email subscribers
- Shop views
- Shop favorites
- Facebook followers
- Google+ followers
- Instagram followers
- Periscope followers
- Pinterest followers
- Twitter followers
- YouTube followers
- Other
On the last day of every month, I have the option to total my whole column or just my follower counts. I don’t always use all of the categories but they are available on the list should I start to use them at any time. I can also use whiteout to cover any category I find I don’t use, at the time, and just write in what I do want to track. My monthly statistics template is a work in progress but you can grab a copy of the version used in this blog post using the link below. With each use, I get closer to the information that is important to me as a small business owner and blogger.
At first this may all seem overwhelming (especially if you are new to blogging). But, just take a deep breath and start with one element -say the monthly view. From there add in another element (the weekly plan), etc, etc. Before you know it, you’ll be on your way to sweet success!
If you love any of the decorative stickers in the spreads above, visit my BTD Instagram to see what shops I purchased them from.


If you are inspired to create a Happy Planner Blog Planner don’t forget to share by tagging me on Instagram and using #btdinspired, I’d love to see your work (and I just might repost your photo)!
Want to always be in the know? Be sure to subscribe to the newsletter to receive emails of all the latest blog posts and get the first scoop about any digital printables and freebies.
Join me on Instagram, Pinterest, Facebook and the Creative Planning Expressions Community to see what I’m up to as I Create a Beautiful LifeTM!

Disclosure: I did receive a free copy of Persnickety Creative’s Blog Planner Template (v2). I had already purchased the Blog Planner Template (v1) for use and review purposes (with no expectation that I would write a post about it). The opinions expressed in this blog post are completely my own based on my experience and/or use of these products.